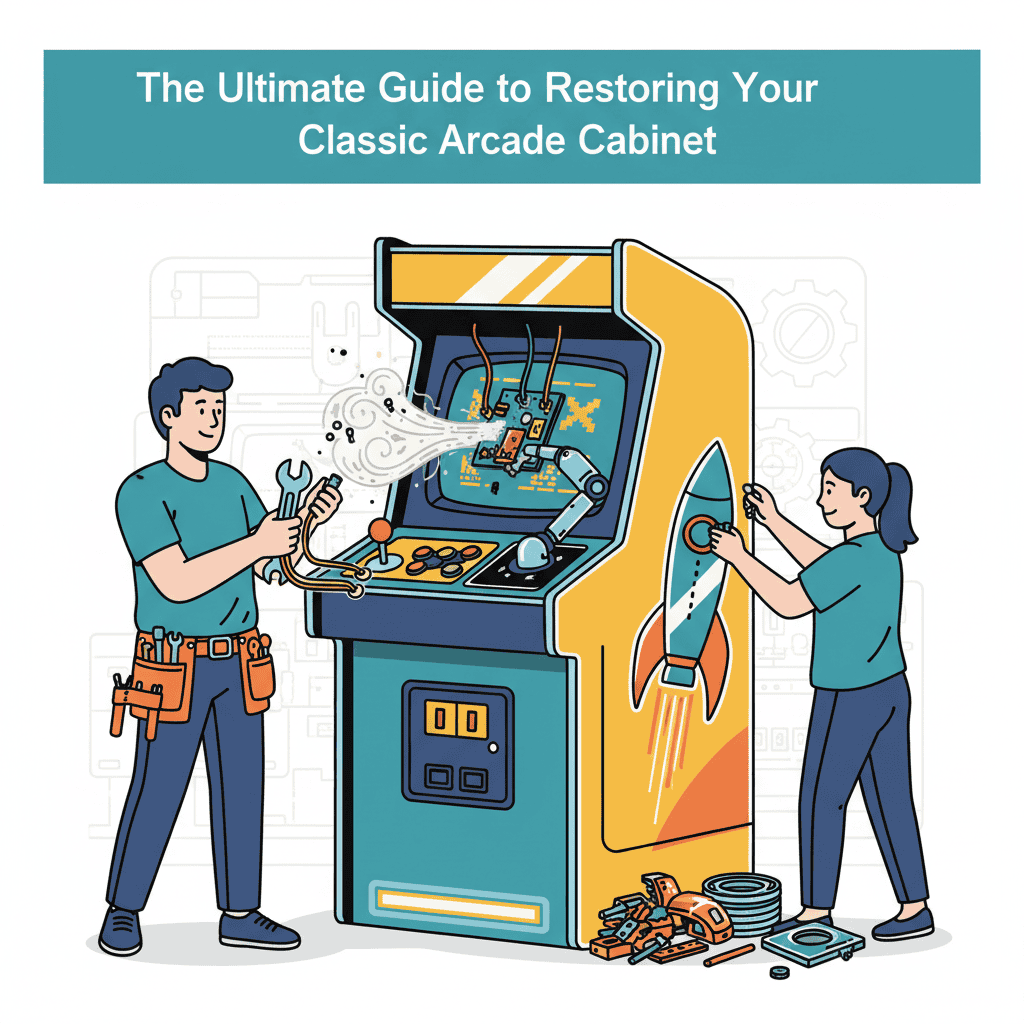
The resurgence of retro gaming has sparked a parallel boom: arcade cabinet restoration. This isn’t just about fixing broken machines; it’s about preserving a piece of gaming history, breathing new life into iconic cabinets, and crafting unique pieces for homes and arcades alike. This guide provides a comprehensive look at the process, from initial assessment to the satisfying final polish. We’ll cover everything a beginner needs to know to embark on this rewarding journey of arcade restoration.
Assessing Your Arcade Cabinet: The First Step
Before you even think about grabbing a screwdriver, a thorough assessment is crucial. This involves more than just a quick glance; you need to methodically evaluate the cabinet’s condition. Start by inspecting the exterior for damage like scratches, dents, peeling paint, and cracked molding. Then, open it up and examine the internal components.
Key Areas to Inspect:
- Cabinet: Look for wood rot, warping, and structural damage. Check for missing or broken trim.
- Control Panel: Assess the condition of the buttons, joystick, and overlays. Look for worn-out components or electrical issues.
- Monitor: Note any cracks, burn-in, or discoloration on the monitor. The condition of the monitor is a major factor in the overall restoration process.
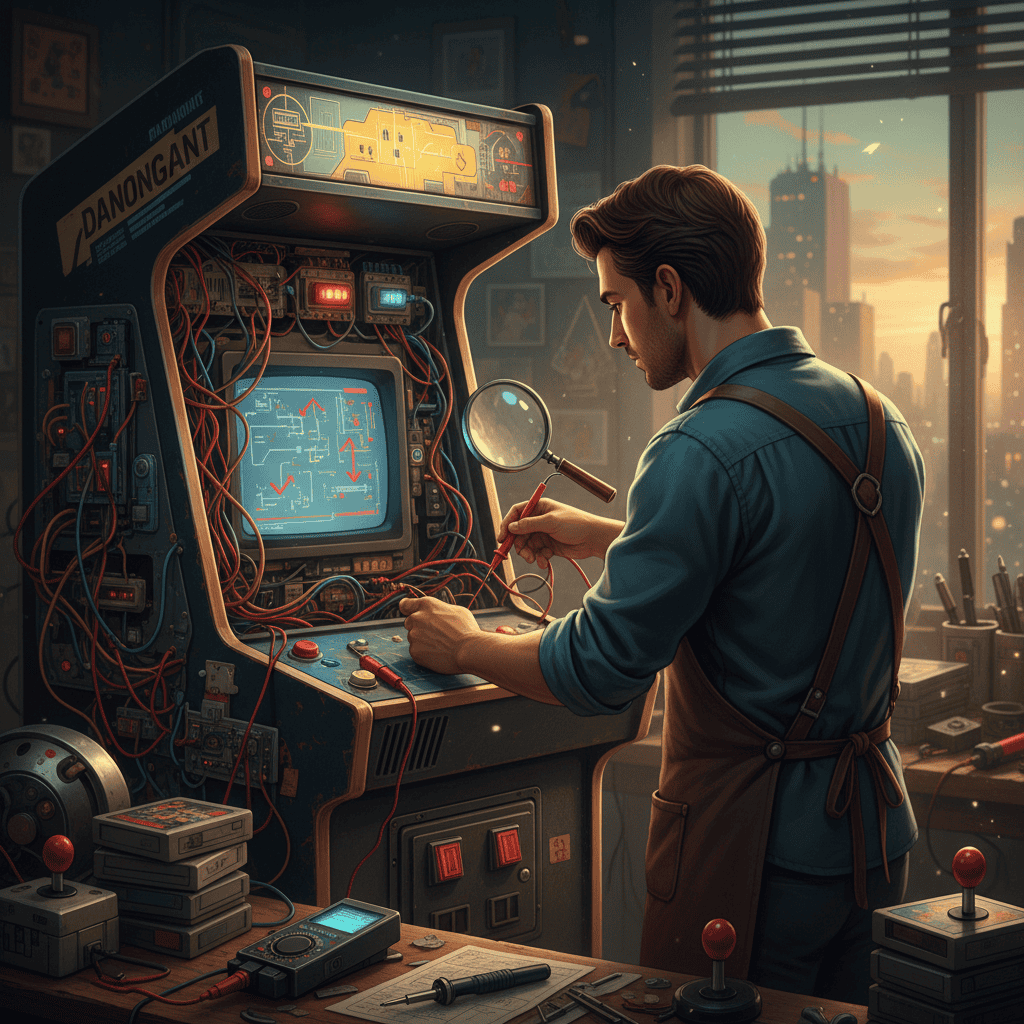
- Electronics: This is where things get more complex. Check all wiring, boards, and components for damage or corrosion. This may require a basic understanding of electronics. Consider taking photos of everything before you begin to disassemble.
Common Problems in Arcade Cabinets:
| Problem | Description | Solution |
|---|---|---|
| Wood Rot | Decay of wooden parts due to moisture. | Repair or replace affected parts. |
| Monitor Issues | Burn-in, discoloration, or screen damage. | Repair, replace, or find a suitable replacement. |
| Control Panel Wear | Worn buttons, joystick, or overlay. | Replace worn parts. |
| Electrical Issues | Loose connections, broken wires, or bad components. | Diagnose and repair or replace affected parts. |
Stripping Down and Cleaning Your Arcade Machine: Preparing for Repairing Arcade Games
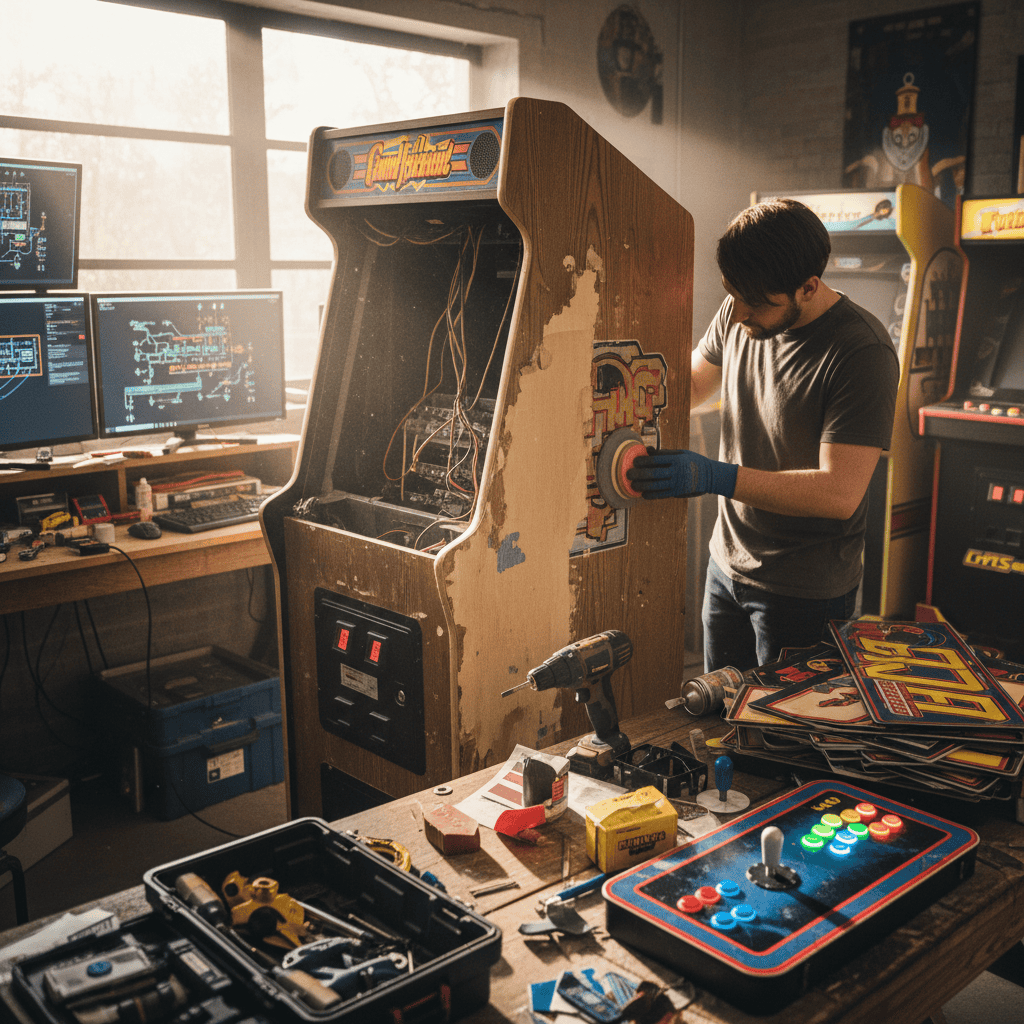
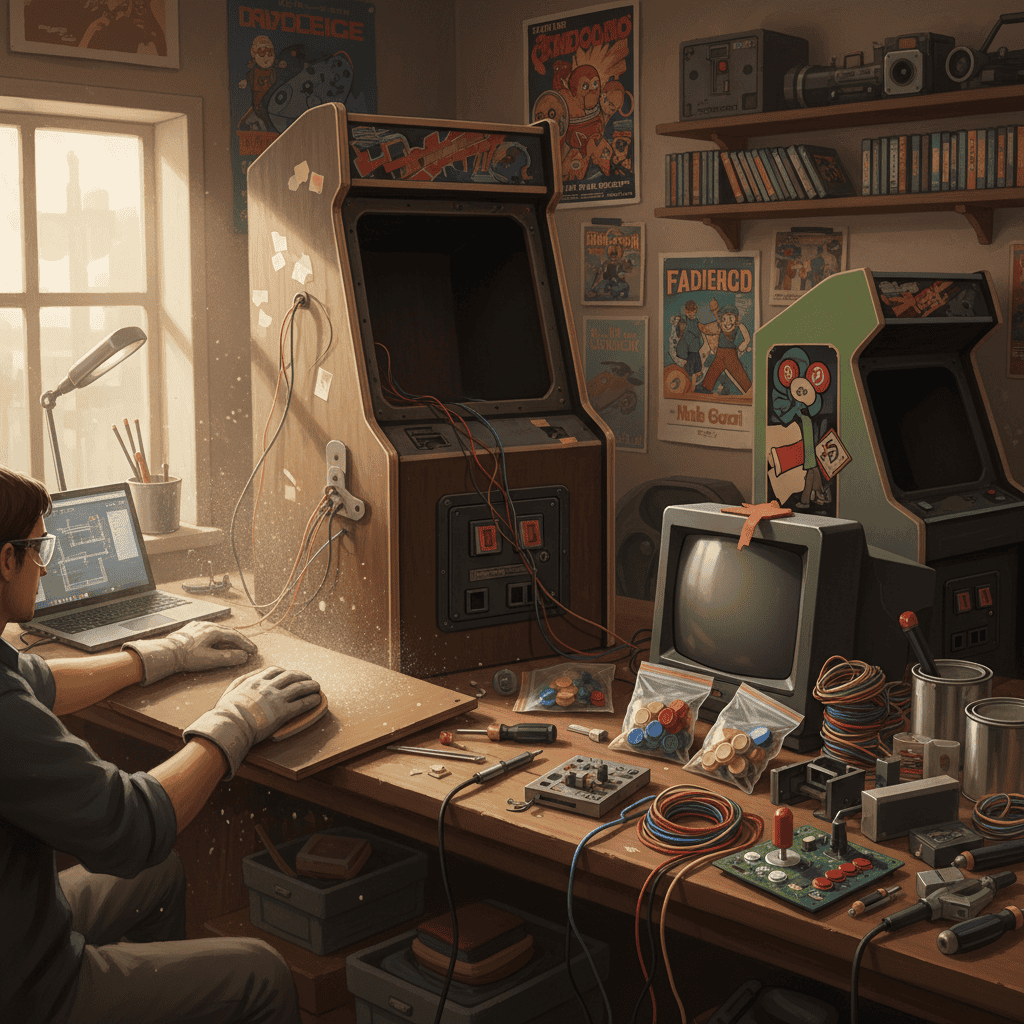
Once you’ve completed a thorough assessment, it’s time to disassemble the cabinet. This allows for easier access to damaged areas and facilitates a proper cleaning. Remember to take detailed photos as you disassemble to ensure you can reassemble it correctly. Proper arcade cabinet refurbishment requires meticulous documentation.
Before you begin stripping:
- Gather your tools: Screwdrivers (Phillips and flathead), pliers, wire cutters, etc.
- Protect your workspace: Lay down drop cloths or cardboard to prevent scratches.
- Take photos: Document every step of disassembly.
Cleaning is critical. Begin by using a vacuum to remove dust and debris. Then, carefully clean all surfaces using appropriate cleaning solutions. For delicate surfaces, consider using a mild soap and water solution. Always test any cleaning solution on a hidden area first.
The Restoration Process: Repairing and Replacing Components
This stage involves tackling the repairs and replacements identified during the initial assessment. This part of arcade cabinet restoration can range from simple tasks like replacing a button to complex repairs like fixing a damaged power supply. Many classic arcade games have online communities dedicated to finding parts and support.
Common Restoration Tasks:
- Cabinet Repair: Repairing wood rot, filling dents, repainting or refinishing.
- Control Panel Restoration: Replacing buttons, joysticks, and overlays.
- Monitor Repair or Replacement: This is often the most expensive part of the process.
- Electronics Repair or Replacement: Repairing or replacing damaged boards, wiring, and components. This often requires specialized knowledge or professional assistance.
Where to Find Parts for Your Arcade Cabinet Restoration
Finding replacement parts can be challenging, but several resources exist:
- Online Retailers: Websites specializing in arcade parts.
- eBay and Craigslist: You might find used parts at reasonable prices.
- Arcade Repair Shops: They often have access to hard-to-find parts.
- Forums and Communities: Connect with other enthusiasts who might have spare parts.
Finishing Touches and Reassembly: Bringing Your Arcade Cabinet Back to Life
After completing all repairs and replacements, it’s time for the final steps: reassembly and finishing touches. Carefully follow the photos you took during disassembly. Once reassembled, test all functions to ensure everything works correctly.
Final Steps:
- Testing: Thoroughly test all buttons, joysticks, and game functions.
- Final Cleaning: Give the cabinet a final wipe-down.
- Touch-ups: Address any minor imperfections.
- Enjoy your restored arcade cabinet!
Arcade Cabinet Restoration Cost
The cost of arcade cabinet restoration varies greatly depending on the condition of the cabinet and the extent of the repairs needed. A simple cleaning and minor repair could cost a few hundred dollars, while a complete overhaul could cost thousands.
People Also Ask
How do I restore an old arcade cabinet? Follow the steps outlined in this guide, starting with a thorough assessment, followed by disassembly, cleaning, repair/replacement, and reassembly.
What tools do I need to restore an arcade cabinet? Basic tools include screwdrivers, pliers, wire cutters, a vacuum cleaner, cleaning solutions, and potentially wood-working tools depending on the level of damage.
How much does arcade cabinet restoration cost? Costs can vary widely, from a few hundred dollars for minor repairs to thousands for a complete restoration.
Where can I find parts for my arcade cabinet restoration? Online retailers, eBay, Craigslist, arcade repair shops, and online communities are all good places to look.
What are the steps to restoring an arcade cabinet? Assessment, disassembly, cleaning, repair/replacement, reassembly, testing, and finishing touches.
Can I restore an arcade cabinet myself? Yes, but it requires patience, attention to detail, and some basic skills in woodworking and electronics.
Key Takeaway: Restoring an arcade cabinet is a rewarding project that combines technical skills with a passion for retro gaming. While it can be challenging, the final result is a unique and valuable piece of gaming history.
Get Started on Your Arcade Cabinet Restoration Project Today!
Now that you have a comprehensive understanding of the process, you can confidently start your own arcade cabinet restoration project. Remember, patience and attention to detail are key to success. Don’t be afraid to seek help from online communities or experienced restorers if you encounter challenges. Happy restoring!
Diving Deep into the World of Arcade Cabinet Restoration