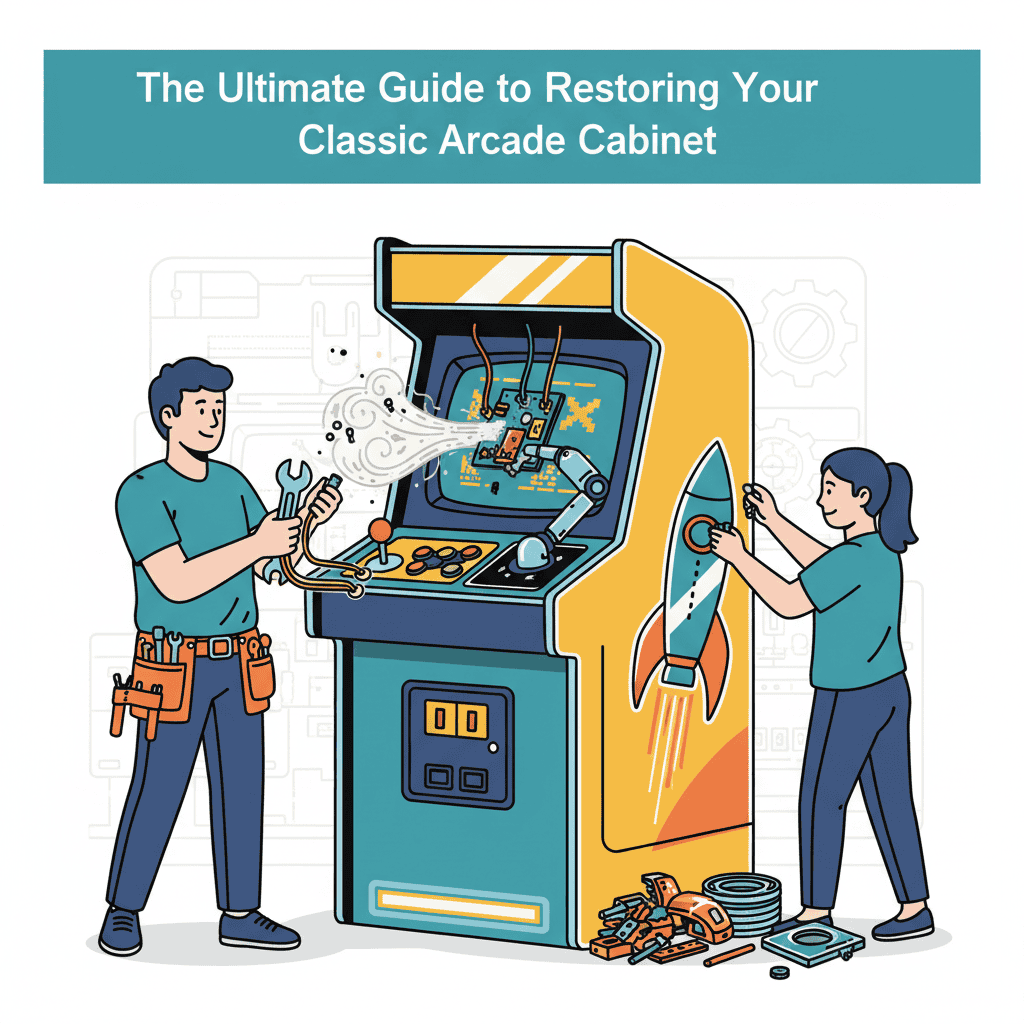
This article delves into the rewarding, and often challenging, world of arcade cabinet restoration. We’ll explore the process, from initial assessment to the triumphant moment of powering up a revitalized classic. The passion behind bringing these gaming relics back to life is a testament to the enduring appeal of the arcade experience. The sheer joy of arcade cabinet repair is unmatched.
Assessing Your Arcade Cabinet: The First Step to Glory
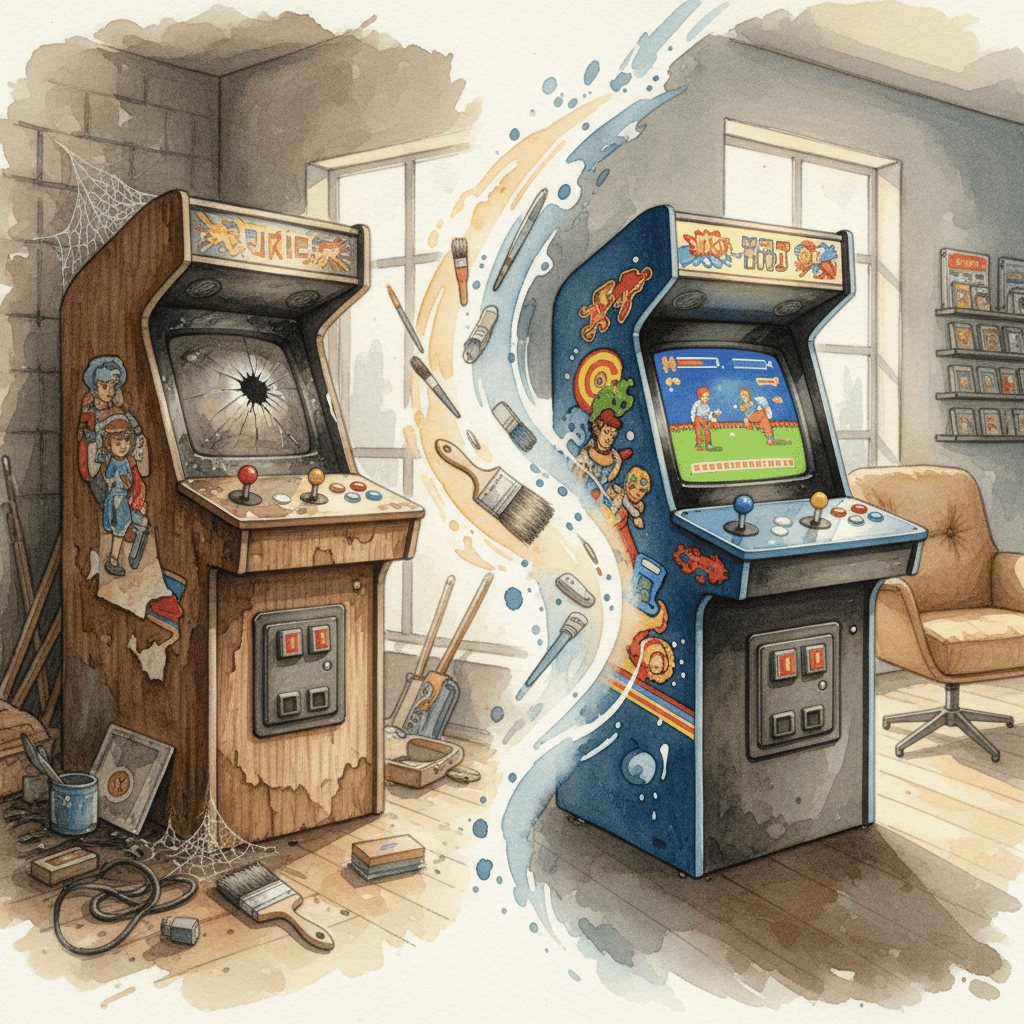
Before you even think about grabbing a screwdriver, a thorough assessment is crucial. This stage dictates the scope of your project and helps determine the arcade cabinet restoration cost. Start by visually inspecting the cabinet for damage: scratches, dents, missing parts, and overall structural integrity. Pay close attention to the control panel, ensuring all buttons, joysticks, and other inputs are functional (or at least identifiable). A critical element of vintage arcade repair is understanding what parts might be missing or require replacement.
Identifying the Cabinet’s Make and Model
Knowing the exact model of your arcade machine is vital for sourcing replacement parts. This step significantly influences the overall arcade cabinet refurbishment process. Many online resources and forums dedicated to arcade game restoration can assist you in identifying the game. Websites like Arcade-History.com often include detailed images and specifications to aid in model identification.
The Restoration Process: A Step-by-Step Guide
This section outlines a general process for restoring an arcade cabinet. The specifics will depend heavily on the cabinet’s condition and the desired level of restoration.
- Disassembly: Carefully dismantle the cabinet, separating the control panel, monitor (or CRT), and internal electronics. Photograph each step to aid in reassembly. This is where having a “how to restore an old arcade cabinet” guide comes in handy.
- Cleaning: Thoroughly clean all components. For the cabinet itself, consider using appropriate wood cleaners and polishes. Be gentle with delicate surfaces. A step-by-step arcade cabinet restoration guide will provide detailed cleaning instructions for each component.
- Repair and Replacement: Address any damage to the cabinet’s wood or other materials. This might involve wood filler, sanding, repainting, or even replacing damaged sections. Sourcing replacement parts for arcade cabinet restoration can be challenging, but dedicated online communities and suppliers specialize in providing these components.
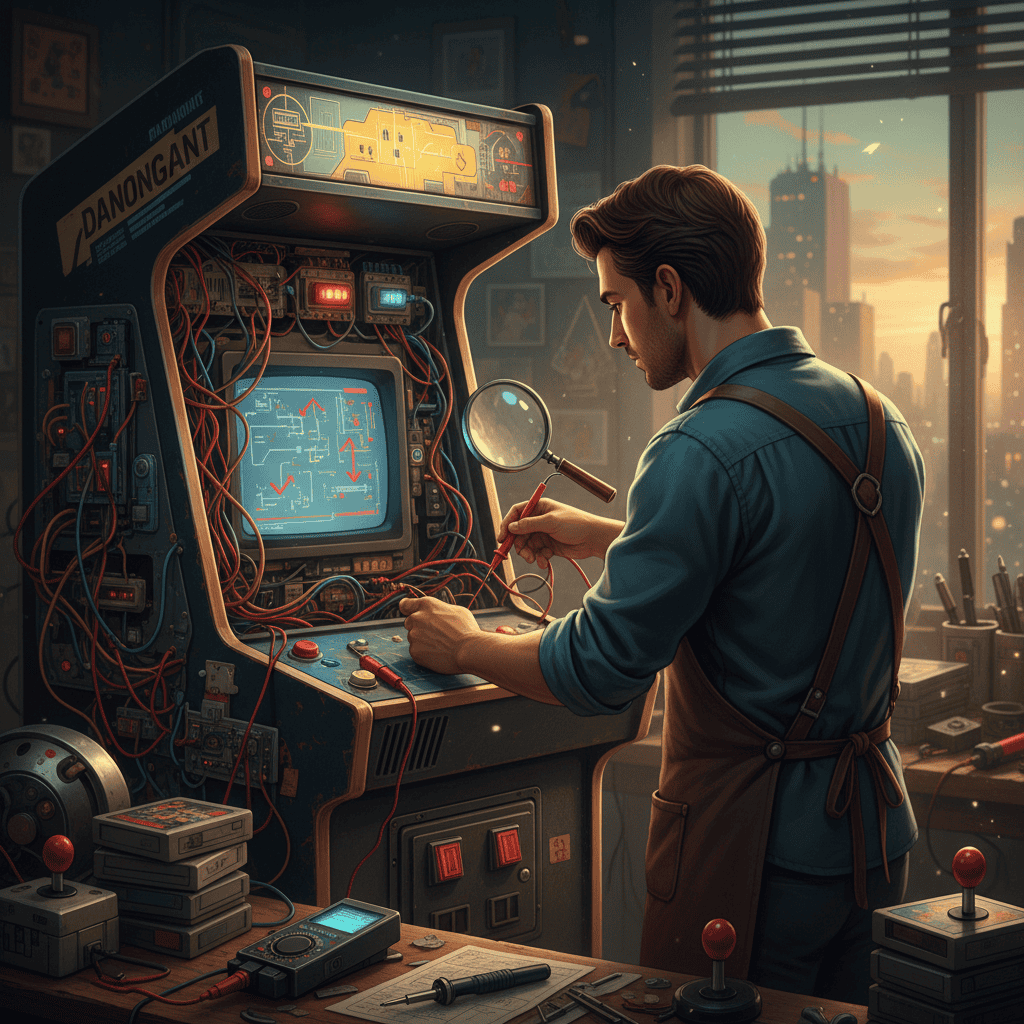
- Electronics Restoration: This is often the most complex part of the process. Troubleshooting faulty components and potentially replacing parts can require some electronics expertise. Consider seeking assistance from experienced arcade technicians if you’re not comfortable working with electronics.
- Reassembly and Testing: Carefully reassemble the cabinet, connecting all components correctly. Test each element to confirm functionality before proceeding.
Sourcing Parts and Resources: The Arcade Restoration Ecosystem
Finding parts for arcade cabinet restoration can feel like an adventure. Many specialized suppliers cater to this niche market, offering everything from control panel overlays to replacement PCBs and even complete sets of original arcade parts. Online forums and communities, such as those focused on classic arcade restoration, provide invaluable resources and support. You’ll find experienced individuals ready to share advice, tips, and even spare parts. Consider searching for “where to buy parts for arcade cabinet restoration” for suppliers near you or online.
Bringing Your Arcade Cabinet Back to Life: The Final Polish
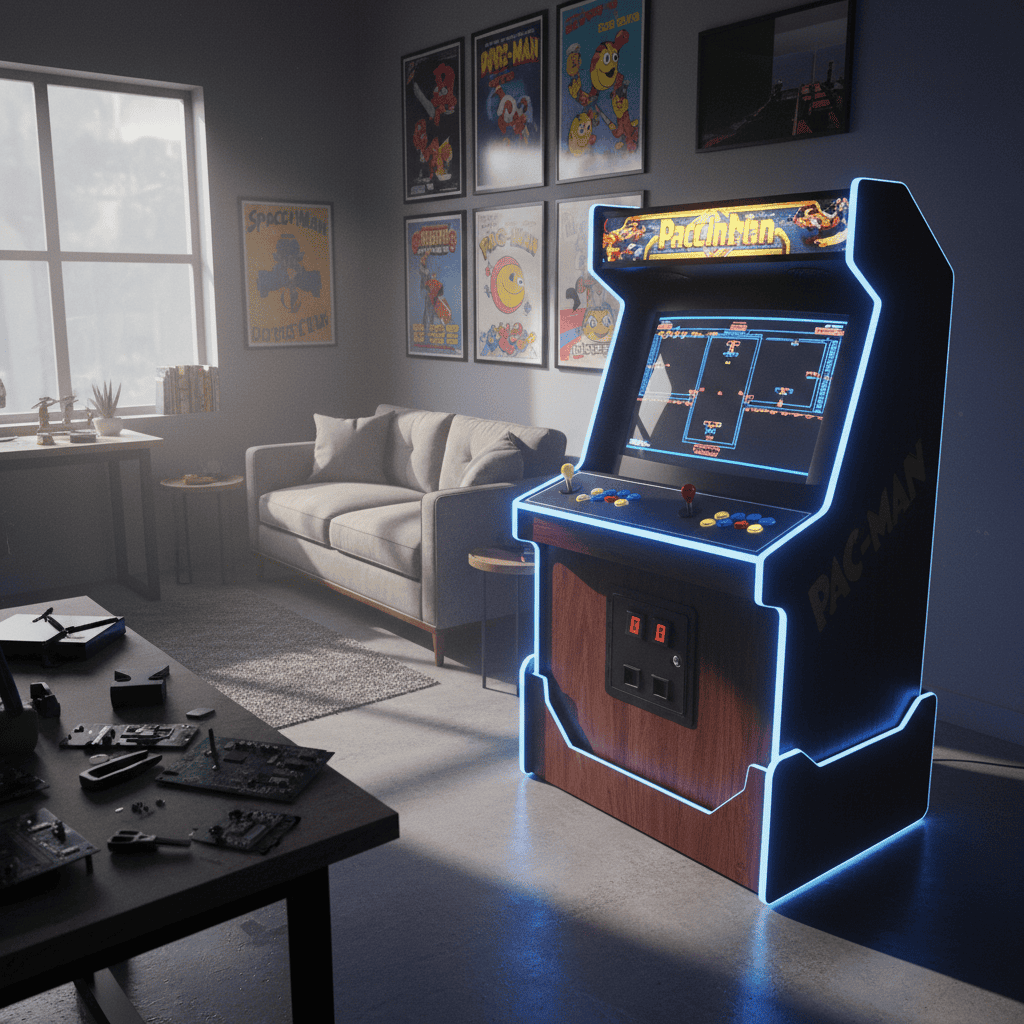
Once you’ve repaired or replaced all necessary components and completed the necessary cleaning and touch-ups, it’s time for the final steps. This often involves reapplying decals, stickers, and other cosmetic elements to match the original aesthetic. This is where the real magic happens, transforming a dilapidated machine into a gleaming, playable classic. This often includes applying a final coat of wax or polish to the cabinet to protect your hard work. For an advanced restoration, you could consider LED upgrades for a brighter and more modern lighting effect, enhancing the overall gaming experience.
People Also Ask
How much does arcade cabinet restoration cost? The cost varies greatly depending on the cabinet’s condition, the extent of the repairs needed, and whether you source parts yourself or hire a professional. Expect to spend anywhere from a few hundred to several thousand dollars.
What tools do I need to restore an arcade cabinet? You’ll need basic woodworking tools (screwdrivers, sandpaper, wood filler), cleaning supplies, and potentially electronic testing equipment. A more comprehensive list will depend on the specific repairs required.
Where can I find parts for my arcade cabinet restoration? Online retailers specializing in arcade parts, as well as online auction sites and forums, are good sources. Local arcade repair shops may also carry parts or know where to find them.
How long does it take to restore an arcade cabinet? This depends heavily on the cabinet’s condition and your experience level. It could take anywhere from a few weeks to several months, or even longer for complex projects.
Can I restore an arcade cabinet myself? Absolutely! Many successful DIY arcade cabinet restorations exist, but assess your skills and comfort level beforehand. You can always seek assistance from online communities or professionals for more challenging tasks.
What are the common problems with old arcade cabinets? Common issues include damaged wood, malfunctioning buttons or joysticks, faulty power supplies, and failing monitors (especially CRTs).
Your Arcade Cabinet Restoration: A Call to Action
This journey of arcade cabinet repair isn’t just about fixing a broken machine; it’s about preserving a piece of gaming history, and recreating a cherished piece of nostalgia. Whether you’re a seasoned DIY enthusiast or a curious newcomer, the satisfaction of bringing a classic arcade cabinet back to life is an unparalleled experience. Embrace the challenge, gather your tools, and prepare for an engaging adventure that will leave you with a truly rewarding result.
Key Takeaway: Arcade cabinet restoration is a rewarding project that combines technical skill, problem-solving, and a deep appreciation for gaming history. While challenging, the result—a fully functional, beautifully restored arcade cabinet—is an unforgettable achievement.
Resurrecting a Retro Champion: A Journey Through Arcade Cabinet Restoration