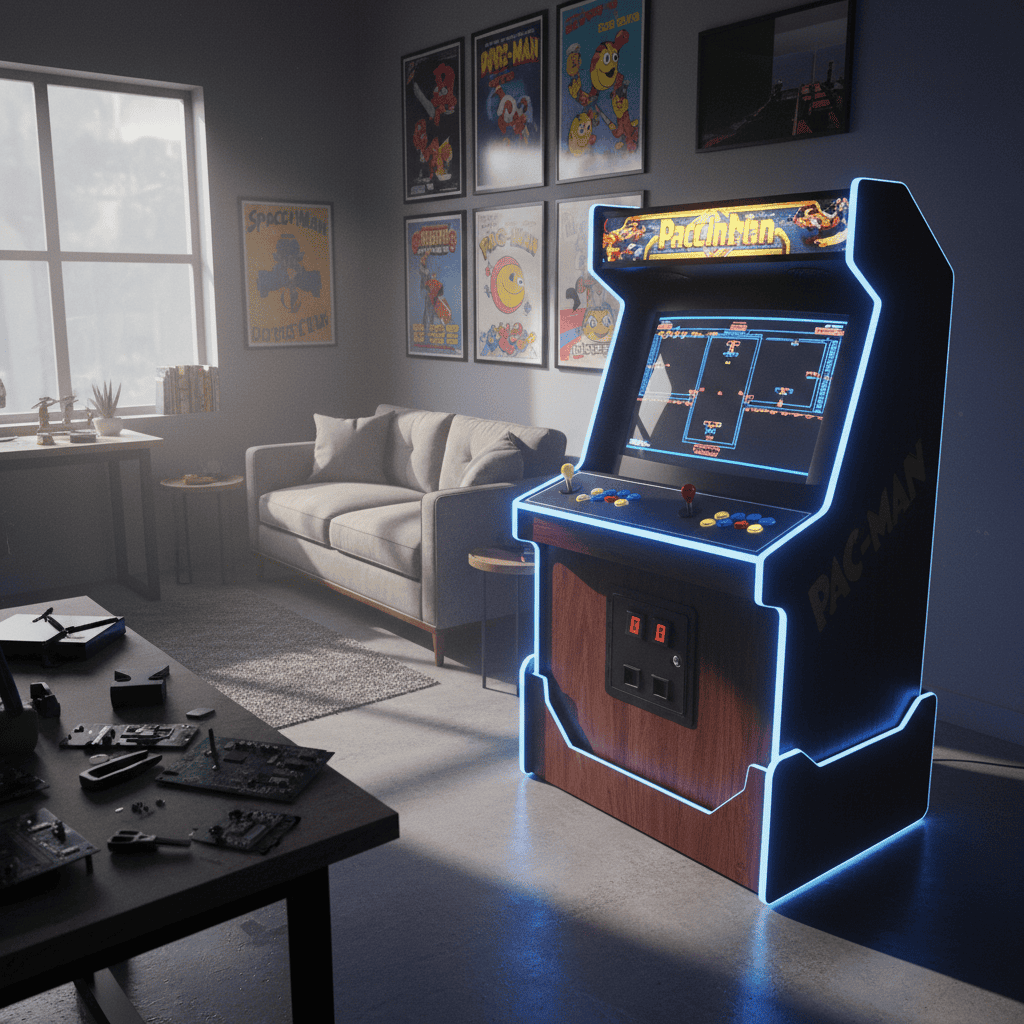
For decades, the roar of the crowd, the flashing lights, and the satisfying click of the joystick have defined the arcade experience. This guide delves into the rewarding, albeit sometimes challenging, process of restoring your own piece of gaming history. Whether you’re tackling a beloved Pac-Man machine or a more obscure title, bringing a classic arcade cabinet back to its former glory is a labor of love that yields incredible results. The journey to successfully restore your arcade cabinet involves careful planning, patience, and a touch of nostalgic dedication.
Assessing the Damage: A Thorough Inspection
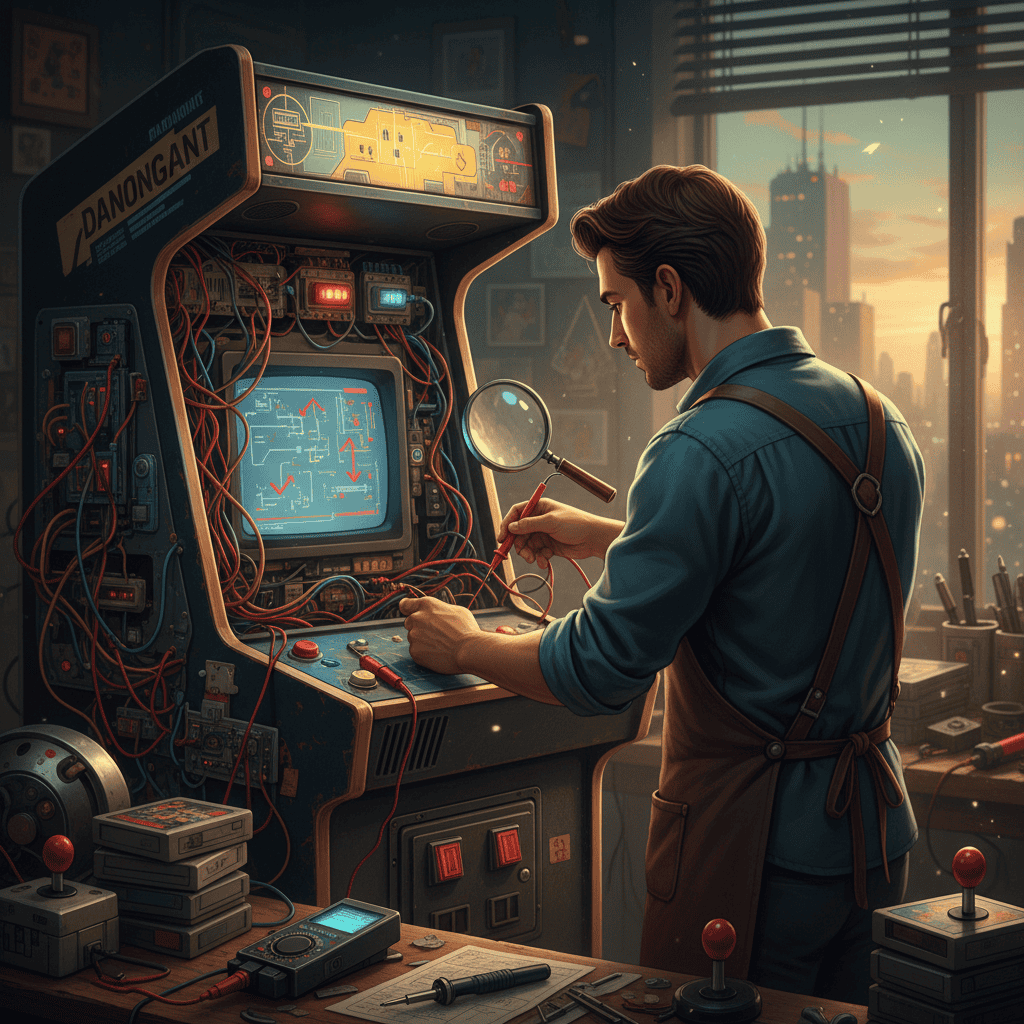
Before diving into the restoration process, a comprehensive assessment is crucial. This involves identifying the extent of the damage, categorizing it into manageable tasks, and sourcing necessary parts. Begin by carefully examining the cabinet’s exterior. Note any scratches, dents, peeling paint, or missing artwork. Then, investigate the internal components: the monitor, control panel, sound system, and the game’s motherboard. Does the control panel need repair? Is the monitor still functional, or will you need a replacement? This initial appraisal will significantly inform your budget and timeline. Don’t forget about the underlying arcade cabinet structure. Repairing arcade machine structural components may require carpentry skills.
Common Issues and Solutions:
- Cabinet Damage: Scratches, dents, and chipped paint can often be repaired with wood filler, sanding, and repainting. More extensive damage may require professional woodworking skills.
- Artwork Restoration: Faded or damaged artwork is a frequent issue. You can find replacement decals online, or even commission custom artwork for a truly unique touch. Consider the nuances of your arcade cabinet restoration.
- Control Panel Issues: Sticky buttons, unresponsive joysticks, and worn-out overlays can be fixed by cleaning, replacing parts, or acquiring reproduction overlays.
- Monitor Problems: Monitor restoration is a specialist area. You might need to replace the monitor entirely, potentially with an LCD upgrade for better image quality and longevity. Repairing arcade machines often necessitates expertise in multiple areas.
Sourcing Parts and Supplies: A Treasure Hunt (and Budget Consideration)
Finding replacement parts for classic arcade cabinets can be like a thrilling treasure hunt, often involving online marketplaces, specialized retailers, and even fellow enthusiasts. Many suppliers specialize in arcade game parts and provide reproduction components. Websites dedicated to arcade restoration frequently feature forums where you can connect with experienced restorers and seek advice. The cost to restore an arcade cabinet varies significantly depending on the scope of work and the rarity of parts. Remember to factor in the cost of tools, cleaning supplies, paints, and any professional services you might need.
Where to Find Parts:
- Online Marketplaces (eBay, etc.): A vast selection of parts, although quality can vary, so buyer beware!
- Specialty Arcade Suppliers: Dedicated retailers catering to the retro gaming community often stock parts and restoration supplies.
- Forums and Online Communities: Connecting with fellow enthusiasts is a great way to find rare or hard-to-source components.
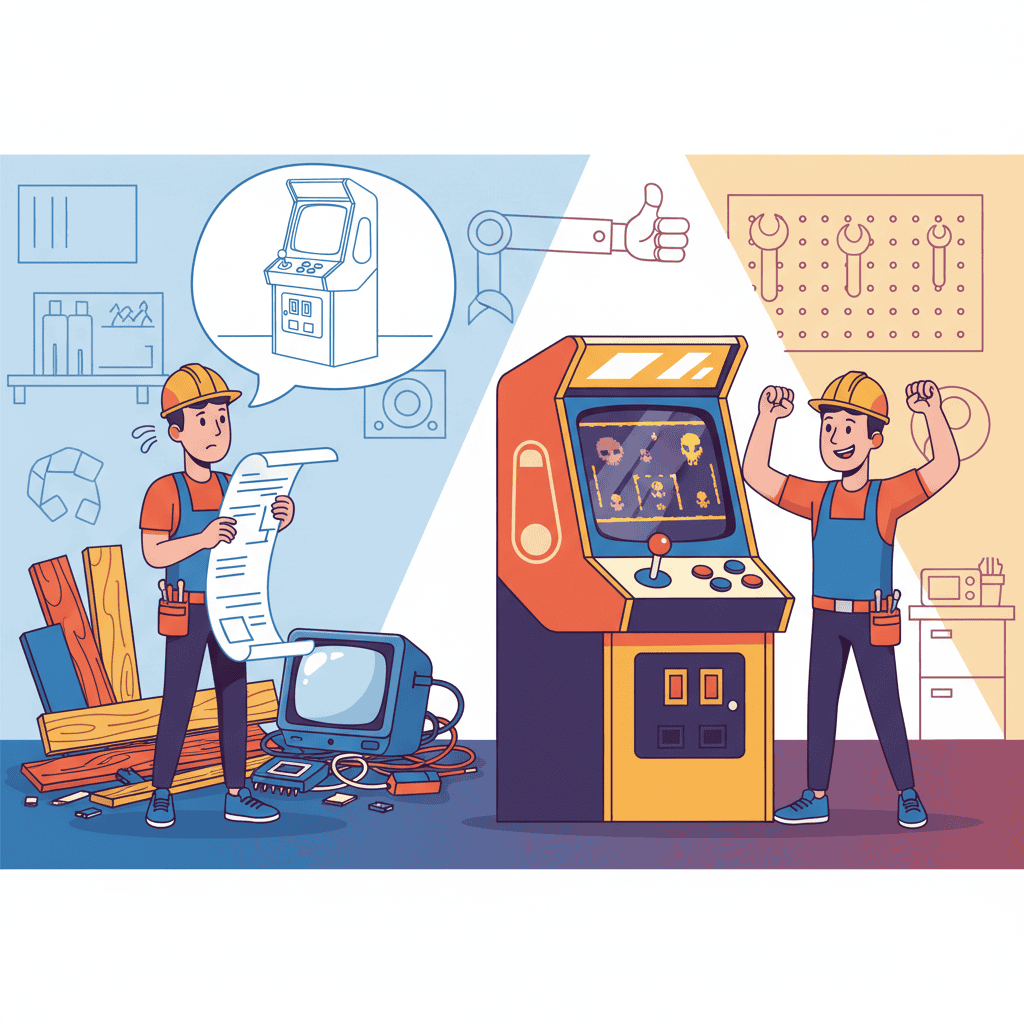
The Restoration Process: Step-by-Step Guide
This section provides a general outline. The specific steps for restoring a Donkey Kong cabinet will differ from those involved in restoring a Galaga machine, for example. The complexities of arcade cabinet refurbishment are vast.
- Disassembly: Carefully disassemble the cabinet, taking pictures and notes to document the process for reassembly. This step is crucial for any successful arcade repair.
- Cleaning: Thoroughly clean all components using appropriate cleaning solutions. Particular attention must be given to cleaning and polishing the arcade cabinet.
- Repair and Replacement: Repair any damaged areas, replace broken parts, and consider upgrading components where appropriate (e.g., replacing a CRT monitor with an LCD). Replacing arcade cabinet artwork is a key aspect of restoring the aesthetic.
- Reassembly: Carefully reassemble the cabinet, following your previous notes and pictures. This stage could involve repairing arcade cabinet wood.
- Testing and Calibration: Test all functionalities (buttons, joystick, monitor, sound) and calibrate the game settings as needed.
People Also Ask (PAA): Your Burning Restoration Questions Answered
How do I restore the artwork on my arcade cabinet?
You can try cleaning existing artwork carefully, or purchase reproduction decals or even commission custom artwork if your original is beyond repair.
What tools do I need for arcade cabinet restoration?
This depends on the extent of damage, but expect to need screwdrivers, pliers, sandpaper, wood filler, paint, brushes, and cleaning solutions. Specific tools for repairing arcade cabinet wood may also be required.
Where can I find replacement parts for my old arcade game?
Online marketplaces, specialized arcade suppliers, and forums dedicated to arcade restoration are excellent sources.

How much does a professional arcade cabinet restoration cost?
The cost varies greatly depending on the condition of the cabinet and the services required. Get multiple quotes before committing.
How to clean and polish an arcade cabinet’s surface?
Use appropriate wood cleaners and polishes to clean and restore the cabinet’s wood.
How to replace arcade cabinet lights?
Carefully disconnect the old lights, taking note of the wiring configuration. Install the new lights according to the wiring diagram and test functionality.
What are some common mistakes to avoid when restoring an arcade cabinet?
Jumping into repairs without a thorough inspection; using inappropriate cleaning solutions; damaging the original artwork during cleaning; not documenting the disassembly process.
| Part | Source | Estimated Cost |
|---|---|---|
| Control Panel Overlay | Online Arcade Supplier | $20-$50 |
| Monitor (LCD Upgrade) | Online Retailer/Specialized Supplier | $150-$300+ |
| Arcade Cabinet Wood | Local Lumberyard | Varies |
| Replacement Artwork | Custom Artist/Online Supplier | Varies |
Key Takeaway: Restoring a classic arcade cabinet is a rewarding journey blending nostalgia, technical skill, and a touch of detective work. The final result—a fully functional, beautifully restored piece of gaming history—is an incredible testament to your dedication.
Your Arcade Cabinet Restoration Project: Taking the First Step
Now that you’re armed with knowledge, it’s time to assess your cabinet and begin your restoration journey! Don’t hesitate to seek advice from online communities and remember that patience and meticulousness are key to success. Embrace the challenges, celebrate the small victories, and relish the unique satisfaction of breathing new life into a cherished classic.
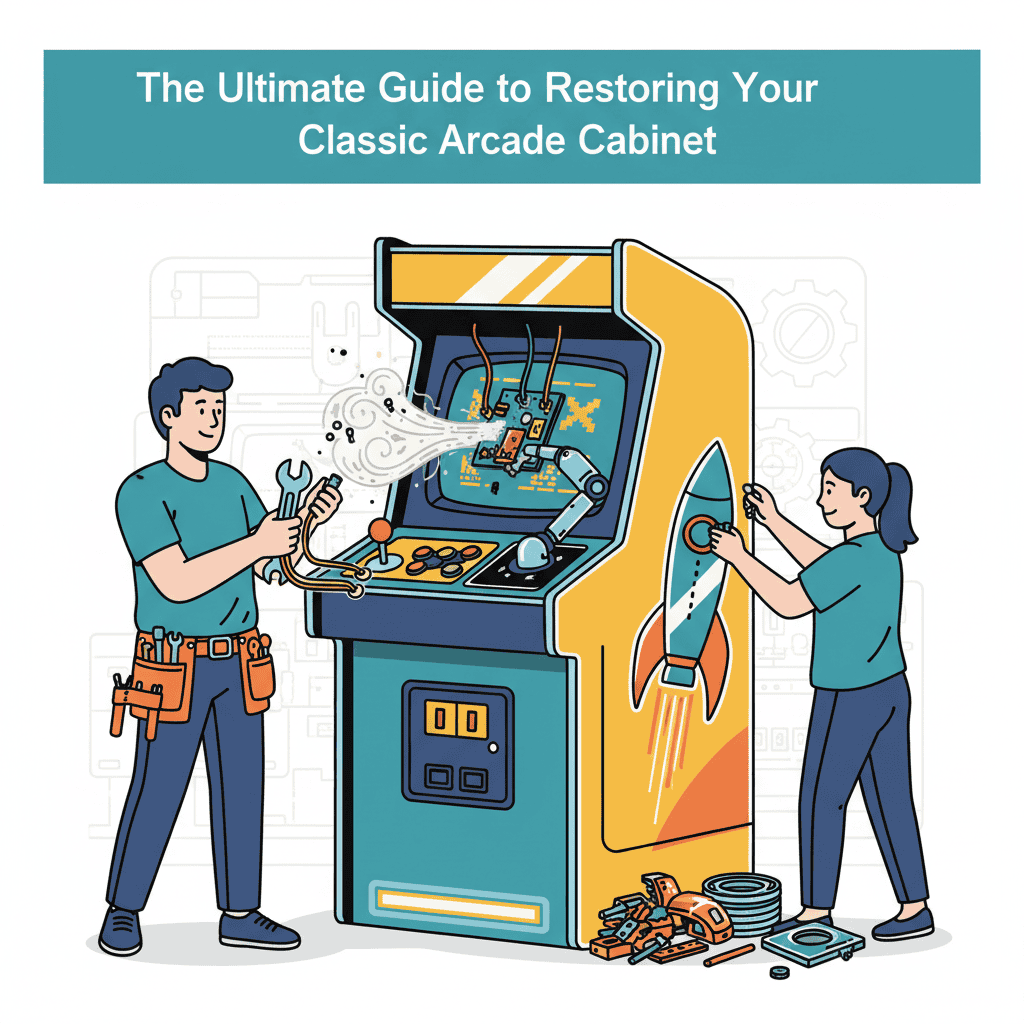
Bringing Your Classic Arcade Cabinet Back to Life: A Restoration Guide