Ever stared at a pile of circuit boards from a salvaged arcade cabinet, feeling like you were looking at hieroglyphics from an alien civilization? I know I have. Back in the ’80s, my first attempt at fixing my friend’s broken Galaga machine involved a lot of wishful thinking and a hefty dose of burnt fingers. This guide is to ensure your foray into the world of arcade PCB schematics is a little smoother. We’re going to break down the mysteries of these electronic roadmaps, targeting everyone from the seasoned retro restorer to the curious newcomer.
Section 1: The Anatomy of an Arcade PCB
Let’s start with the basics. An arcade PCB (Printed Circuit Board) is essentially the brain of your favorite arcade game. It’s a thin, rigid board packed with tiny electronic components: integrated circuits (ICs), capacitors, resistors, diodes, and connectors. These components work together to process input from the controls (joystick, buttons), generate the game’s visuals and sounds, and manage the overall gameplay. Think of it as a miniature, highly specialized computer designed for one purpose: to deliver addictive, pixel-perfect fun. I remember painstakingly tracing the pathways on a damaged Pac-Man board—a true rite of passage for any retro game enthusiast.
Identifying Key Components
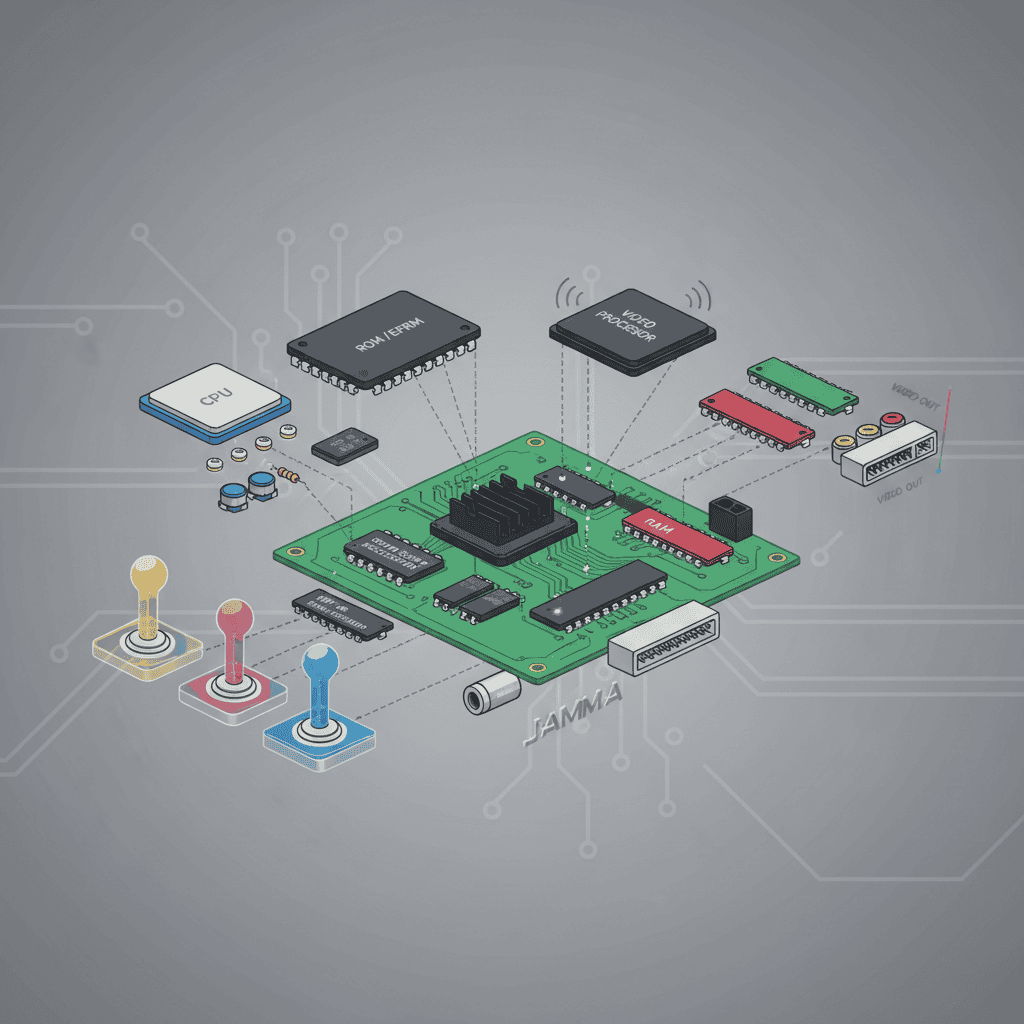
Understanding the layout is crucial. Here’s a simplified breakdown of the common components you’ll find:
- CPU (Central Processing Unit): The game’s “brain,” responsible for executing the game’s logic and instructions. Different games used different CPUs; the Zilog Z80 was a popular choice in many classic arcade titles.
- GPU (Graphics Processing Unit): Handles the generation of the game’s visuals, often working with custom chips specific to the arcade hardware. This was often a dedicated, specialized chip, rather than a generalized GPU like in modern systems.
- Sound Chip: Responsible for generating the game’s audio. Classic arcade games frequently used custom sound chips like the YM2149 or SN76489.
- ROM (Read-Only Memory): Contains the game’s program code and data. This is where the game’s logic, graphics, and sounds are stored. This is often what people mean when they’re talking about the “game’s ROM”
- RAM (Random Access Memory): Used for temporary storage of game data during gameplay, such as player scores, positions of sprites, etc.
- Input/Output (I/O) Chips: Manage communication between the PCB and the game’s external components, like the controls and the monitor.
Key Takeaway: Familiarizing yourself with these fundamental components is the first step towards understanding how the entire system works. Think of them as the organs of a living arcade machine.
Section 2: Reading the Schematics: A Visual Guide
The schematic is a blueprint of the PCB, showing the connections between all the components. It’s not simply a picture; it’s a technical drawing using standard electronic symbols. These symbols represent different components (resistors, capacitors, ICs, etc.), and the lines connecting them show the flow of electricity. Navigating this detailed diagram can be challenging, even for experienced electronics enthusiasts. Back in my days working on those old Namco boards, I spent hours deciphering those cryptic symbols.
Deciphering the Symbols
Learning to interpret these symbols is essential. While there are many variations, some are universal. Here are a few examples:
| Symbol | Component |
|---|---|
| — | Resistor |
| —––— | Diode |
| □ | Integrated Circuit (IC) |
Section 3: Troubleshooting with Schematics
Schematics are invaluable for troubleshooting problems. Let’s say your game isn’t displaying the correct colors. By consulting the schematic, you can trace the signal path for the color information, checking for broken connections or faulty components along the way. It’s like being a detective, carefully following clues to solve the mystery of a malfunctioning arcade machine. This is often far more reliable than the generic troubleshooting guides. I’ve seen many people misdiagnose their problem just by looking at a generic guide.
Common Problems and Solutions
- No Power: Check the power supply, fuses, and the main power connector on the PCB.
- No Video: Examine the video output signals, checking the connection to the monitor and the video-generating components on the PCB.
- No Sound: Trace the audio signal path, verifying the sound chip, amplifier, and speaker connections.
- Faulty Controls: Inspect the wiring connecting the joystick and buttons to the I/O ports on the PCB.
Section 4: Resources and Further Learning
The world of arcade PCB schematics can seem daunting, but with patience and persistence, you can master it. Learn how to repair your PCB and bring your favorite arcade games back to life with helpful resources on arcade pcb repair. Learn how to repair your PCB and bring your favorite arcade games back to life. Online resources like MAME (Multiple Arcade Machine Emulator) provide access to many schematics and ROMs. Furthermore, forums dedicated to arcade repair and restoration are invaluable sources of information and community support. Many dedicated communities exist, often with veterans more than willing to help. Remember, patience and persistence are key!
Key Software and Tools
- MAME: An emulator that provides access to schematics and ROMs for many arcade games.
- Multisim/CircuitMaker: Electronic circuit simulation software.
- A Multimeter: For testing voltages, current, and continuity.
- Soldering Iron: Essential for repair work.
Arcade PCB Troubleshooting: Frequently Asked Questions
Q: What if I can’t find a schematic for my specific game?
A: You can try contacting arcade repair forums and communities online. Sometimes, schematics might be available through archives or private collections.
Q: What are the common types of damage to arcade PCBs?
A: Common problems include damaged traces, blown capacitors, faulty ICs, and corrosion due to age and humidity.

Q: How do I locate damaged components on a PCB?
A: A visual inspection, coupled with careful testing using a multimeter, will help you identify damaged components.
Q: How can I safely repair a PCB?
A: Always follow safety precautions when working with electronics. Use appropriate tools, and if you are unsure, seek help from an experienced technician.
Q: Are there any online courses or tutorials dedicated to PCB repair?
A: Yes, several online resources offer tutorials and guides on basic electronics repair and PCB troubleshooting.
Q: Is it worthwhile to repair old PCBs, or should I just buy a new one?
A: The cost-effectiveness depends on the game and the extent of the damage. For rare or valuable games, repair can be a more viable option. However, a cost-benefit analysis is always recommended.
Q: What’s the best way to prevent future damage to arcade PCBs?
A: Store them in a clean, dry environment and handle them with care. Avoid exposing them to extreme temperatures or humidity.
Level Up Your Arcade Skills: Next Steps
You’ve now taken the first steps on the path to becoming a true arcade PCB whisperer. The key is to start with small projects, build your confidence, and don’t be afraid to ask for help. Find a broken arcade game, grab your multimeter and schematics, and dive in. You’ll be surprised at what you can achieve. The satisfaction of bringing a classic game back to life is unparalleled. Trust me; I know from experience.
Cracking the Code: Decoding Arcade PCB Schematics