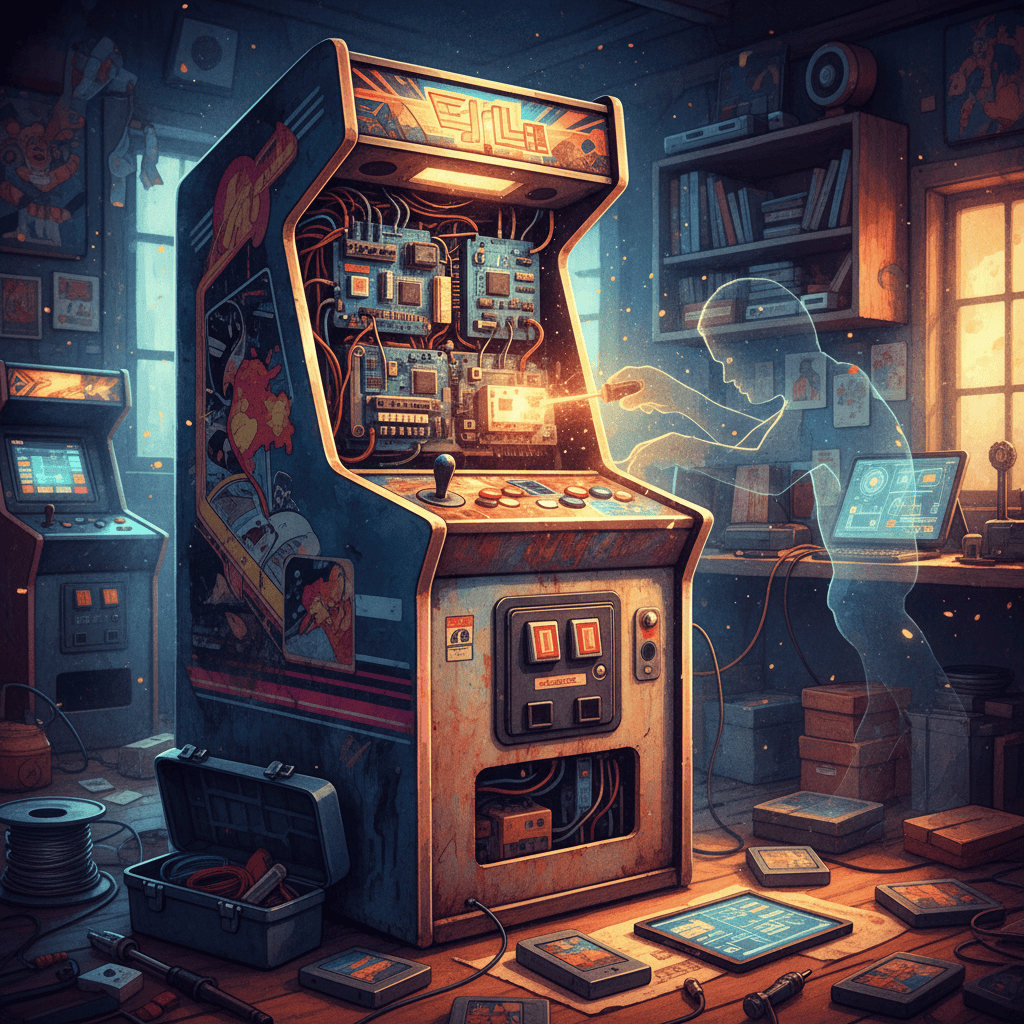
Want to relive the magic of those smoky, buzzing arcades from your youth? Or maybe you’re a modern indie gamer craving the raw, tactile experience of classic arcade gameplay. Either way, getting your hands on a working arcade PCB (Printed Circuit Board) is the key. But what happens when that classic piece of gaming history gives up the ghost? This is your guide to bringing retro gaming back to life in 2025.
The Anatomy of an Arcade PCB: Understanding the Beast
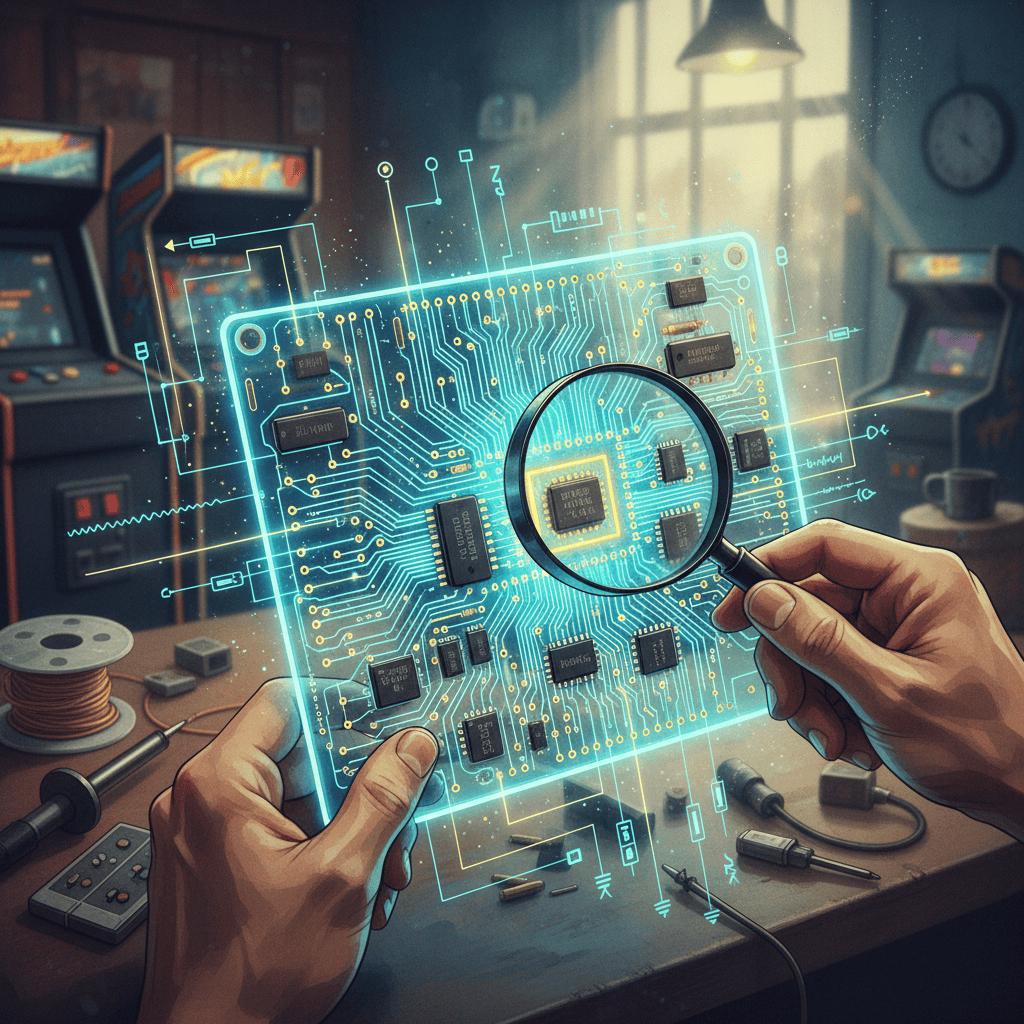
Let’s start with the basics. An arcade PCB isn’t just a circuit board; it’s the beating heart of your favorite arcade machine. It holds the game’s code, manages input from the buttons and joystick, and controls the graphics and sound. I remember my first encounter: trying to fix my dad’s broken Donkey Kong cabinet as a kid, completely intimidated by the maze of chips and wires. Back then, it was trial and error. Now, we have resources that would make my younger self jump for joy!
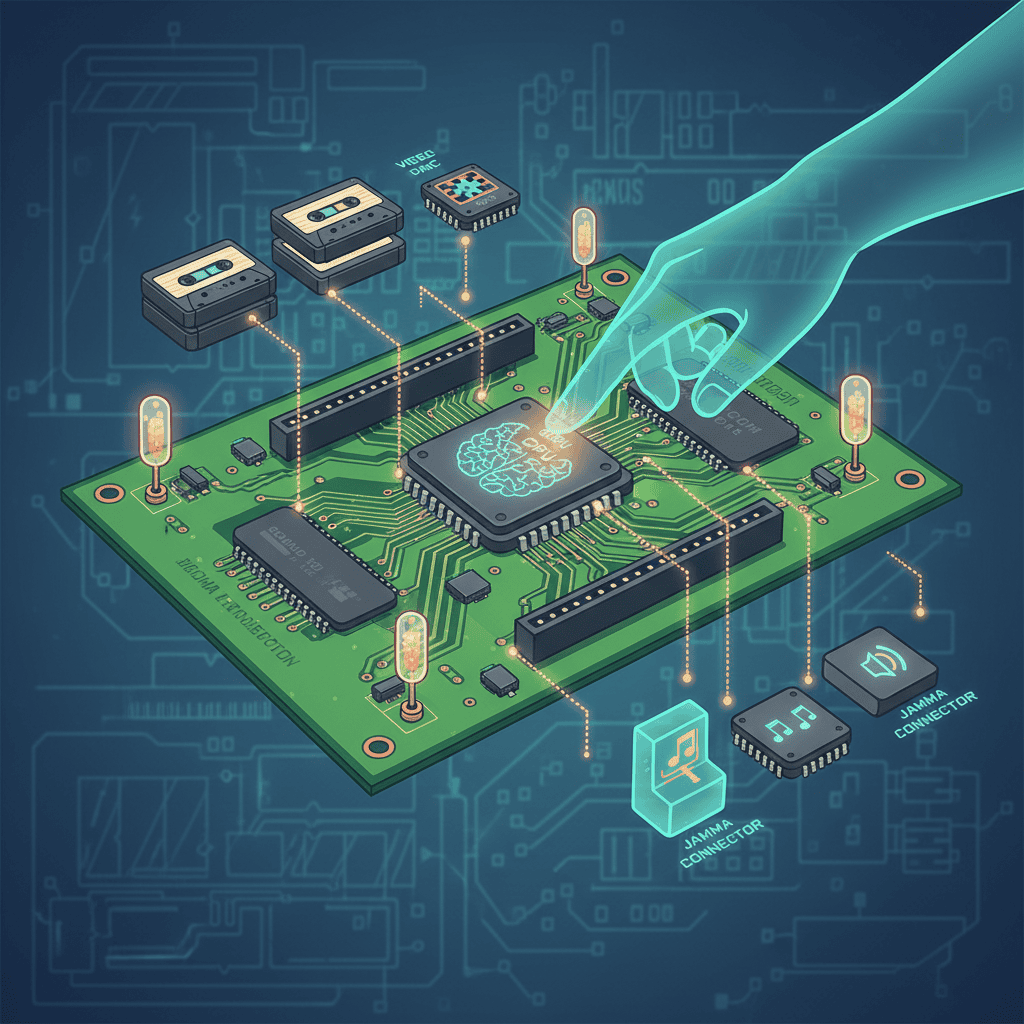
- CPU: The brain of the operation, responsible for processing the game logic.
- ROM: Read-Only Memory chips that store the game’s program. These are often the most sought-after pieces during restoration projects.
- RAM: Random Access Memory, used for temporary data storage.
- Sound Chips: These generate the iconic sound effects and music that define many classics. The difference in sound quality between different manufacturers like Namco and Capcom was truly noticeable!
- Video Chips: These create the visual output you see on the screen, often needing serious attention after years of neglect.
My first real arcade repair project was a late-80s Galaga machine. It was a baptism by fire, but learning to troubleshoot that specific board set me up for years of future repairs.
Diagnosing the Problem: Finding the Fault in the Circuit
Before you dive into soldering, you need to diagnose the problem. A multimeter is your best friend here. Check for power supply issues, inspect the connections between the PCB and other components (like the monitor and controls), and carefully examine the board itself for any obvious damage like burned components or broken traces. I always start with the simplest checks: Is the power supply even on? Is the fuse blown? You’d be amazed how often these basic checks fix the problem.
Remember those games with the infamous ‘flickering screen’ issue? Often, that could be from the video chip itself failing. Some others have weak sound or unresponsive buttons. These all pinpoint different areas of trouble, so learning to troubleshoot common issues is key. The early ’80s boards are a nightmare in comparison to the later, more modular designs of the ’90s. The sheer number of components can make the task daunting.
- Visual Inspection: Look for any physical damage, corrosion, or loose connections.
- Multimeter Testing: Measure voltage and continuity to identify faulty components.
- Component Testing: Individually test suspect components like capacitors, resistors, and integrated circuits (ICs).
Repairing the PCB: A Solderer’s Journey
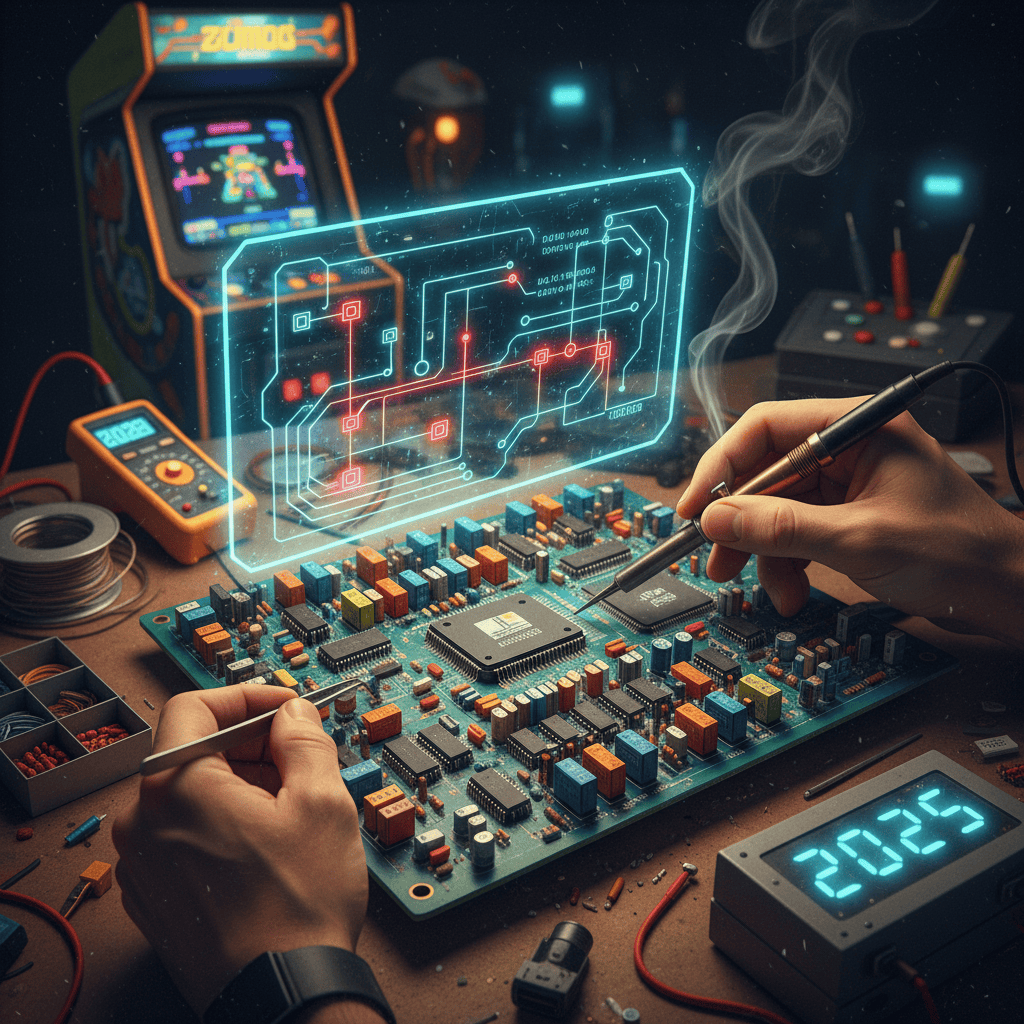
Once you’ve identified the problem, you can begin the repair. This is where precision and patience are key. You’ll need a good soldering iron, solder, and possibly a desoldering tool to remove faulty components. If you are not comfortable with soldering, seek out a professional.
A common mistake I see new players make is overheating components during soldering. It’s a delicate process that takes a steady hand and practiced technique. Using the wrong type of solder can also lead to cold solder joints. Always look for high-quality, rosin-core solder for the best results. Remember to always ground yourself to prevent static electricity from damaging delicate components.
- Soldering Techniques: Practice your skills on scrap boards before attempting repairs on valuable PCBs.
- Component Replacement: Sourcing replacement components can be challenging. Websites dedicated to arcade parts, including those offering helpful arcade pcb schematics, are your best friends.
- Trace Repair: If traces on the PCB are damaged, you might need to use conductive paint or jumper wires.
Replacing a blown capacitor is relatively easy, but repairing a damaged trace requires more skill and can involve intricate techniques.
Advanced Techniques and Resources for the Retro Enthusiast
This is where things get interesting. We’re entering the realm of advanced diagnostics, chip programming, and even custom-designed repair solutions. Let’s look at some crucial resources available to you in 2025:
Online Communities and Forums
The online arcade community is a treasure trove of knowledge. Forums like Arcade-Heaven.com, KLOV (Killer List of Video Games), and dedicated subreddits (r/Arcade, r/GameRepair) are populated by experienced technicians who’ve encountered practically every conceivable PCB problem. You can find detailed repair guides, troubleshooting tips, and support from fellow enthusiasts.
MAME and Emulation
While emulation isn’t a replacement for the real thing, MAME (Multiple Arcade Machine Emulator) can be a valuable tool for testing purposes. You can use it to verify that your repairs have worked and that the game functions correctly after the fix.
Specialized Tools and Equipment
Consider investing in a hot air rework station for removing surface-mount components more efficiently, and oscilloscopes to analyze signals on the board. This is where the serious restoration effort begins, and the budget might require some thought.
| Tool | Purpose | Cost Range (USD) |
|---|---|---|
| Multimeter | Measuring voltage, current, and resistance | $20 – $200 |
| Soldering Iron | Soldering and desoldering components | $20 – $100 |
| Hot Air Station | Removing surface-mount components | $100 – $500 |
| Oscilloscope | Analyzing signals on the board | $100 – $1000 |
| Logic Analyzer | More detailed signal analysis | $200 – $1000+ |
The Future of Retro Arcade Repair: A Look Ahead
I’ve been involved in the arcade scene for over three decades, and the accessibility to resources has improved exponentially. What was once the preserve of a few specialists is now something accessible to enthusiastic gamers. However, certain challenges remain, such as sourcing increasingly rare parts for older systems. 3D printing technologies show promise in recreating damaged components, and open-source design movements continue to advance. This is the future of retro arcade restoration, ensuring these masterpieces continue to work for decades to come.
Frequently Asked Questions (FAQs)
Q: Where can I find replacement parts for my old arcade PCB?
A: Websites specializing in arcade parts, eBay, and online forums, as well as resources dedicated to arcade cabinet restoration, are good places to start.

Q: What kind of soldering iron do I need?
A: A temperature-controlled soldering iron with a fine tip is essential for delicate PCB work.
Q: Is it worth repairing an old arcade PCB?
A: If the game is sentimental or rare, repair is often worthwhile. Otherwise, the cost of parts and labor may outweigh the game’s value.
Q: Can I learn PCB repair online?
A: Absolutely! YouTube channels and websites offer many tutorials.
Q: What if I can’t find a specific component?
A: The community might be able to help, or you might need to consider creative workarounds.
Q: How can I prevent further damage to my PCB?
A: Proper handling, dust prevention, and stable power supply are crucial.
Q: Are there any good books on arcade repair?
A: While dedicated books are rare, many online resources provide detailed information.
Power Up Your Nostalgia: Your Next Steps
You’ve learned the basics, delved into advanced techniques, and now you have a clear roadmap. The next step? Grab your tools, dive into that dusty arcade cabinet, and get ready to bring those classic games back to vibrant life. Trust me, the satisfaction of reviving a piece of gaming history is something truly special. Don’t be afraid to ask for help – the arcade community is welcoming and eager to support fellow enthusiasts. Happy repairing!
Resurrecting the Ghosts of Arcades: Your 2025 Guide to PCB Repair