The allure of the arcade—the vibrant lights, the satisfying thunk of buttons, the roar of the crowd—continues to captivate gamers. But the dream of owning a perfect arcade setup doesn’t have to be confined to nostalgic memories. Building your own custom control panel is a rewarding project that blends craftsmanship, technology, and a deep love for classic gaming. This guide delves into the fascinating world of custom arcade control panel construction, walking you through every step, from initial design to final wiring.
Designing Your Masterpiece: Aesthetics and Functionality
The first step in building a custom arcade control panel is deciding on the perfect design. Consider what games you’ll primarily play; this will heavily influence the layout of your buttons and joystick. For fighting games, you’ll want a dedicated eight-way joystick and ample buttons, possibly even a trackball for specific titles. For classic shooters, a less button-intensive design might be more suitable.
Choosing Your Components: The Heart of Your Arcade
Selecting the right components is crucial for both performance and longevity. High-quality parts like Sanwa Denshi joysticks and buttons are favored by many for their responsiveness and durability. Seimitsu offers excellent alternatives, and Happ Controls remain a popular, budget-friendly option. Consider the following:
- Joystick: Choose between ball top, bat top, or even a custom design to fit your preferred play style. The eight-way joystick is the standard for fighting games, but four-way designs are fine for other genres.
- Buttons: Select buttons based on size, feel, and actuation force. Many enthusiasts opt for Sanwa OBSF-30 or similar models known for their snappy responsiveness.
- Control Panel Material: Common materials include wood (MDF is a popular choice for its affordability and workability), acrylic (for a sleek, modern look), or even metal for a robust feel. The choice will affect both the aesthetic and the overall build process.
- Wiring Harness: You’ll need to consider using pre-made harnesses or assembling your own for ultimate control over connections and customization.
Remember, careful selection of the components greatly impacts not just your build quality, but also your experience. A DIY arcade build should be as personal as your favorite game.
Assembling Your Arcade Control Panel: A Step-by-Step Guide
Once you’ve gathered your materials, the construction phase begins. This process involves several steps:
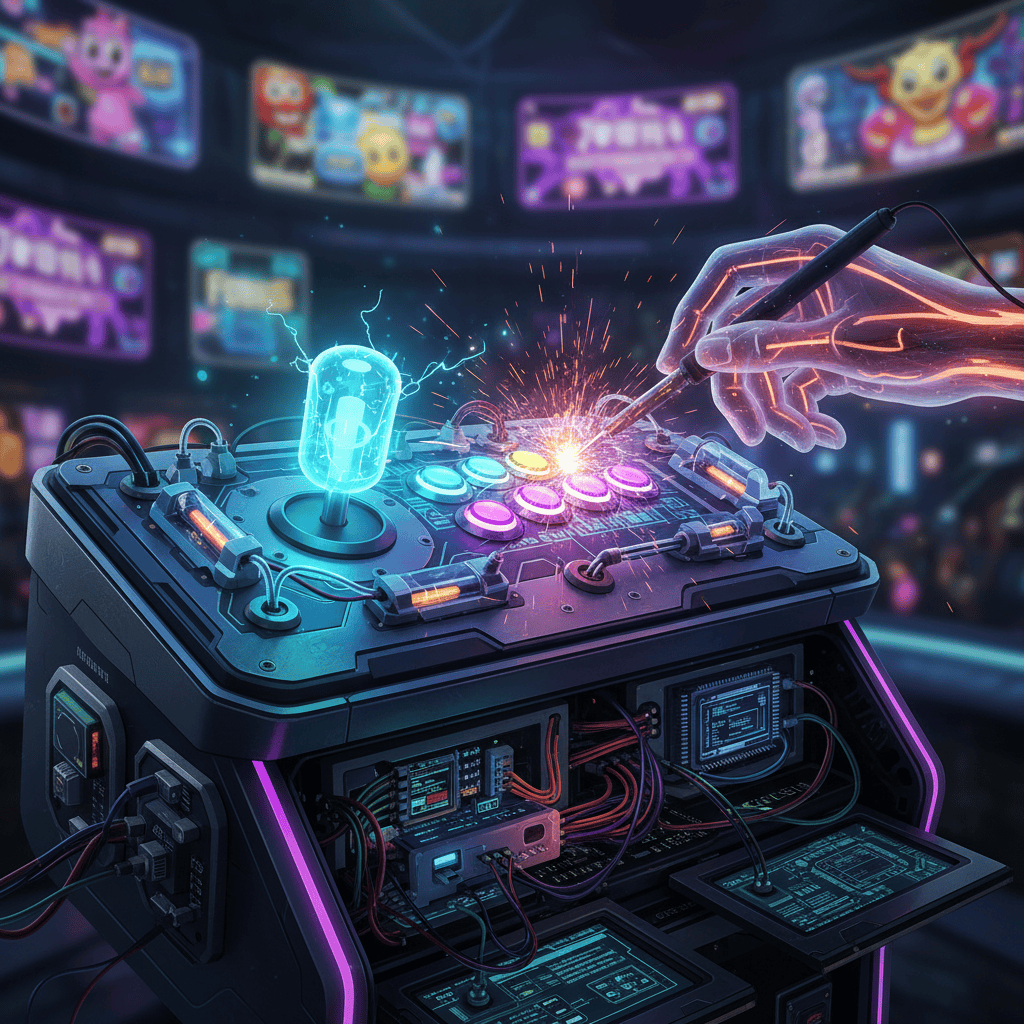
- Cutting and Shaping the Control Panel: Measure and cut your chosen material to your desired dimensions. Precise measurements are key to ensure a clean, professional finish.
- Drilling Button and Joystick Holes: Using a drill press and appropriate drill bits, create precise holes for your chosen components.
- Mounting the Components: Securely attach your joysticks and buttons to the control panel using appropriate screws and washers.
- Wiring the Control Panel: This is often considered the most challenging step. Carefully follow wiring diagrams for your chosen components, ensuring that all buttons and the joystick are correctly connected. A slight mistake here can mean many hours of troubleshooting.
- Testing Your Control Panel: Before integrating it into a cabinet, rigorously test the functionality of each button and the joystick. Make any necessary adjustments.
This process is where skills in woodworking, electronics, and precise planning really shine. Building a custom arcade stick requires attention to detail.
Integrating Your Custom Control Panel: The Final Touch
The next step depends on your overarching project. Are you building a full arcade cabinet, or is this control panel intended for use with a computer or dedicated emulation device?
Connecting to Your System: Raspberry Pi and Beyond
Whether you’re using a Raspberry Pi for emulation, a dedicated arcade machine, or even a modern gaming PC, the connection process will vary. Ensure you have the correct adapters and cables. Consult your chosen system’s documentation for specific instructions on how to connect the arcade control panel. This step necessitates a good understanding of electronics and how your selected components interface with modern systems. This is where a pre-built arcade control panel can save you significant time and potential headaches.
Building a Full Arcade Cabinet: Retro Arcade Build
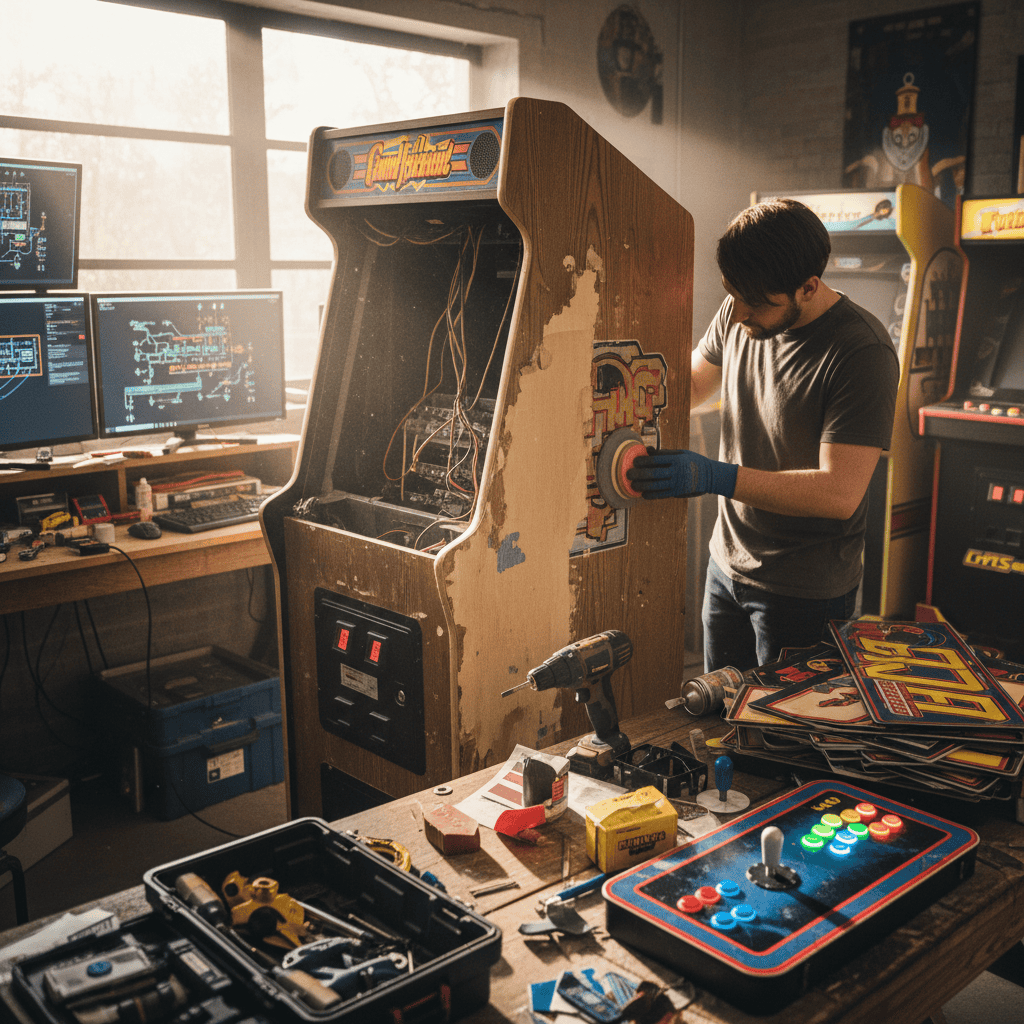
Creating a complete arcade cabinet is a significantly larger undertaking requiring carpentry skills, and potentially specialist tools. This involves building the cabinet itself, integrating the control panel, adding a monitor, and installing the internal components. Numerous online tutorials and plans are available, but be prepared for a sizeable time commitment. This includes not just assembly but potential design revisions as you encounter issues during the build process.
People Also Ask
How do I build a custom arcade control panel?
Follow a step-by-step guide, starting with design and component selection, then proceeding to cutting, drilling, mounting, and wiring. Thorough planning and attention to detail are vital.
What parts do I need for a custom arcade control panel?
You’ll need a joystick, buttons, a control panel material (wood, acrylic, etc.), a wiring harness (or individual wires), screws, and potentially a mounting plate.
How much does it cost to build a custom arcade control panel?
The cost varies greatly depending on the chosen components. Budget builds can be achieved, but high-quality components can increase the cost significantly.
What are the best materials for an arcade control panel?
MDF wood is a popular choice due to its affordability and workability, but acrylic offers a sleek alternative. Metal is also a durable but more advanced option.
Where can I buy parts for a custom arcade control panel?
Several online retailers specialize in arcade parts, offering a wide selection of joysticks, buttons, and other accessories from manufacturers like Sanwa Denshi, Seimitsu, and Happ Controls.
How to wire an arcade control panel?
This requires careful attention to detail. Use a wiring diagram specific to your components and ensure all connections are secure. Numerous online resources offer wiring guides.
What are the best arcade control panel dimensions?
Dimensions depend on your personal preference and the games you’ll play. Many designs are based on classic arcade cabinet standards, but customization is key.
What are some DIY arcade cabinet plans?
Numerous online resources and forums offer plans and tutorials for building arcade cabinets of varying complexity.
Take the Plunge: Build Your Dream Arcade Today!
Creating a custom arcade control panel is an incredibly satisfying experience, combining creativity, technical skill, and a genuine passion for gaming. While it can be a challenging undertaking, the rewards of owning a truly personalized gaming setup far outweigh the effort. Don’t just play the games; own them.
Key Takeaway: Building your own custom arcade control panel isn’t just about assembling parts; it’s about creating a personalized gaming experience tailored to your preferences and play style. This journey allows for unique creativity and technical skill development. It is a labor of love that yields an unforgettable reward.
From Pixels to Perfection: Crafting Your Dream Arcade Control Panel


